

Most people who own a moka pot have made the same cup twice: once rich and deeply satisfying, and once bitter and scorched, with no clear idea why the results differed. The answer, almost every time, comes down to two things: grind size and heat control. Get those right and your stovetop espresso will beat anything you can pull from a capsule machine, at a fraction of the cost and with considerably more craft. This moka pot guide covers every variable that matters, from how the device actually works to the exact moments during brewing that make or break your cup. Whether you are new to stovetop espresso or just tired of inconsistent results, this is the practical, no-fluff reference you need.
Table of Contents
- What Is a Moka Pot and How Does It Work
- Quick Takeaways
- Choosing the Right Grind and Coffee
- Step-by-Step: How to Use a Moka Pot
- Heat Control: The Variable Most People Get Wrong
- Moka Pot vs. Alternatives: Which Brewing Method Suits You
- Troubleshooting: Bitter, Weak, or Watery Results
- Cleaning and Maintenance
- Frequently Asked Questions
- References
What Is a Moka Pot and How Does It Work
The moka pot was invented by Alfonso Bialetti in Italy in 1933. Its design has remained largely unchanged since then, which tells you something about how well it was conceived. The device is made of three stacked chambers: a bottom boiler that holds water, a middle funnel basket packed with ground coffee, and a top collector where the brewed coffee gathers.
When the base is heated on a stovetop, steam pressure builds and forces water upward through the coffee grounds and into the collecting chamber. The moka pot operates at roughly 1 to 2 bars of pressure, which is meaningful pressure, but well below the 9 bars used by a professional espresso machine. The result is not technically espresso by the strictest definition, but it is strong, concentrated, and full-bodied in a way that no drip or pour-over method can replicate.
Understanding this pressure gap explains one of the most common mistakes: using espresso-fine grounds. A grind fine enough for 9 bars of pressure will simply block the flow at 1.5 bars, leading to a slow, stuttering extraction that produces harsh, over-extracted coffee.
The moka pot is its own thing entirely. Stop trying to make it taste like an espresso machine shot and start brewing it on its own terms. The reward is a cup that is richer, more complex, and more personal than anything a pod machine can produce.
Quick Takeaways
| Key Insight | Explanation |
|---|---|
| Grind size is medium-fine, not espresso-fine | The moka pot runs at around 1 to 2 bars of pressure. An espresso-fine grind creates too much resistance, causing over-extraction and bitterness. Aim for a texture like table salt, coarser than powdered sugar. |
| Pre-heat your water | Starting with cold water forces the grounds to sit on a hot base while the water slowly heats. Pre-heating water to just below boiling reduces this contact time and eliminates a major source of scorched flavour. |
| Never tamp the grounds | Unlike espresso machines, a moka pot cannot compensate for the resistance created by tamped grounds. Fill the basket loosely, level it off with your finger, and stop there. |
| Use medium-low heat throughout | High heat forces water through too aggressively, producing a burnt, bitter cup. Medium-low heat gives a slow, even extraction and a noticeably sweeter result. |
| Remove from heat at the first gurgle | That distinctive gurgling sound signals the water is nearly spent and steam is about to dominate. Pull the pot off the heat immediately to avoid a hollow, bitter finish. |
| Fill the basket completely | A moka pot is calibrated to brew at full capacity. Using a 6-cup pot to make 3 cups changes the brew ratio and produces weak, sour coffee. Buy the size that matches your usual serving amount. |
| Roast matters: medium-dark works best | Medium to dark roasts suit the moka pot's extraction style. They produce the chocolatey, rounded body the method is known for. Light roasts can work but need adjustments to grind and heat. |
Choosing the Right Grind and Coffee
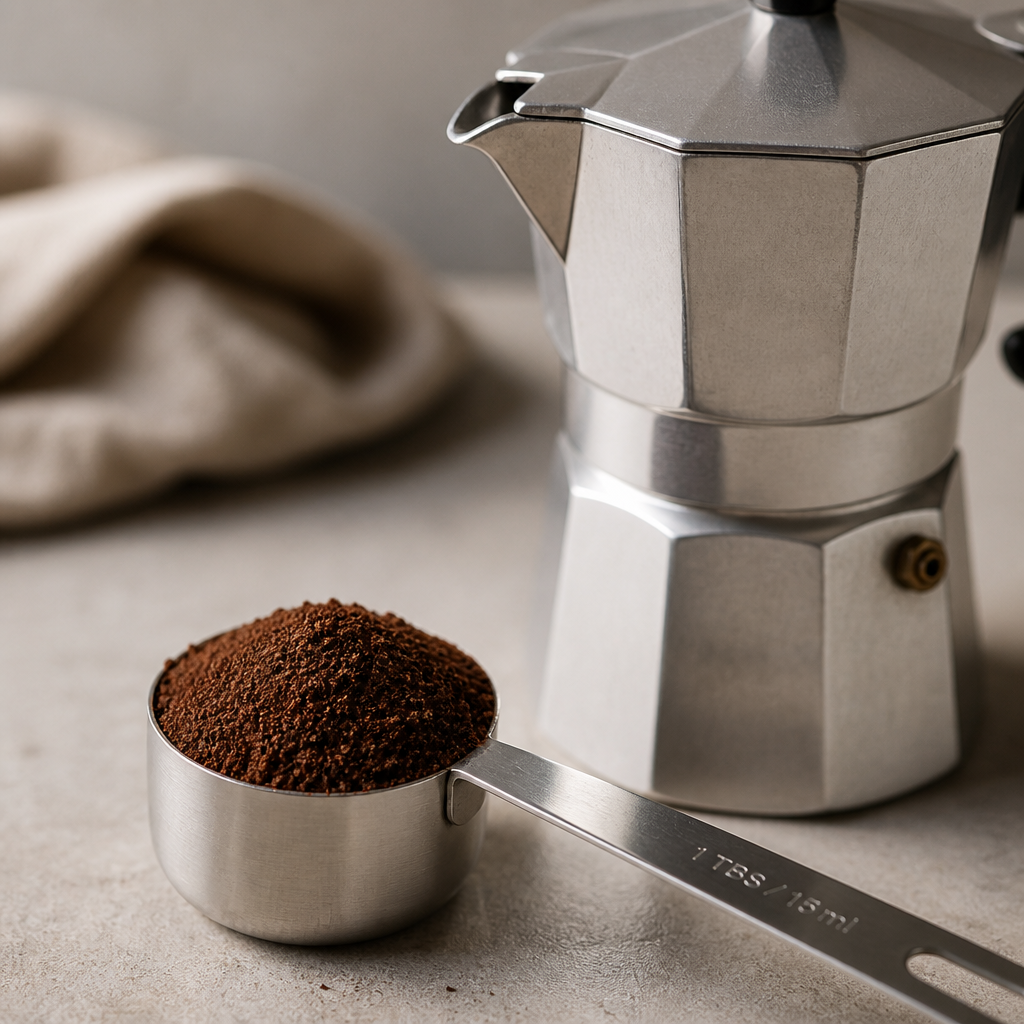
The grind decision is the single most important choice you make before the pot even touches the hob. Most people grind too fine because the moka pot looks like a miniature espresso machine and so the logic feels sound. It is not. The ideal grind for stovetop espresso sits between drip and espresso, landing at what most grinder manufacturers call medium-fine. When you rub a pinch between your fingers, it should feel roughly like table salt, not powdered sugar.
A grind that is too fine causes the low pressure inside the pot to struggle, backing up flow and driving over-extraction. The coffee that does make it through will taste harsh and bitter. A grind that is too coarse allows water to rush through too quickly, producing a thin, weak cup. Medium-fine is the target, and it is narrower than most people expect.
Coffee-to-Water Ratio for a Moka Pot
The moka pot largely dictates its own ratio: the basket and boiler chamber are calibrated together, so you fill both to capacity and the geometry does the work. For a 3-cup Bialetti, that is roughly 15 grams of coffee to 150ml of water. As a general rule, a 1:7 ratio (1 gram of coffee per 7ml of water) produces a robust, full-flavoured cup without tipping into over-extraction. Some speciality recipes push toward 1:9 to highlight more acidity and sweetness in the bean.
Pro tip: Never brew a 6-cup pot half-full. The moka pot is not designed to scale down. If you usually make one or two small cups, buy a 3-cup pot and use it at full capacity every time.
Which Coffee Roast to Use
Medium to dark roasts are the natural home of the moka pot. They produce the chocolatey, rounded body and low acidity that the method is known for. At Farrer's, their Espresso range includes blends specifically suited to moka pots and richer cups, roasted fresh in small batches at their roastery in Kendal, which makes a real difference to the result you get at home.
Light roasts can work in a moka pot, but they require adjustment. Because the steam-pressure extraction is less efficient than a true espresso machine, light roasts often taste thin or sharp unless you use pre-heated water, go one click finer on your grind, and drop the heat further. If you are new to the method, start with a medium-dark roast and build from there. Exploring single origin coffees from Farrer's is a great way to discover how different beans respond to the moka pot once you are comfortable with the basics.
Step-by-Step: How to Use a Moka Pot
The steps themselves are straightforward. The detail is in the execution, and that is where most home brewers either get it right or fall into the same traps repeatedly.
Step 1: Pre-Heat the Water
Bring water to just below boiling in a kettle or saucepan before filling the base of the moka pot. Starting with cold water means the grounds sit on a heating base for longer, which scorches the coffee before extraction even begins. Pre-heated water shortens this window significantly and produces a cleaner, smoother result.
Step 2: Fill the Base to Just Below the Safety Valve
The small metal nub inside the base chamber is your fill guide, not a decorative detail. Water above the valve changes the pressure dynamics and can compromise the brew. Water below it is the correct level every time.
Step 3: Fill the Basket Loosely, Level It Off
Spoon your ground coffee into the basket, fill it to the brim, and use your finger to level the surface. Do not press, tap, or tamp. The grounds should be loose and even, with no compaction. If the basket looks slightly domed at the top, brush the excess away.
Step 4: Assemble Firmly and Place on Medium-Low Heat
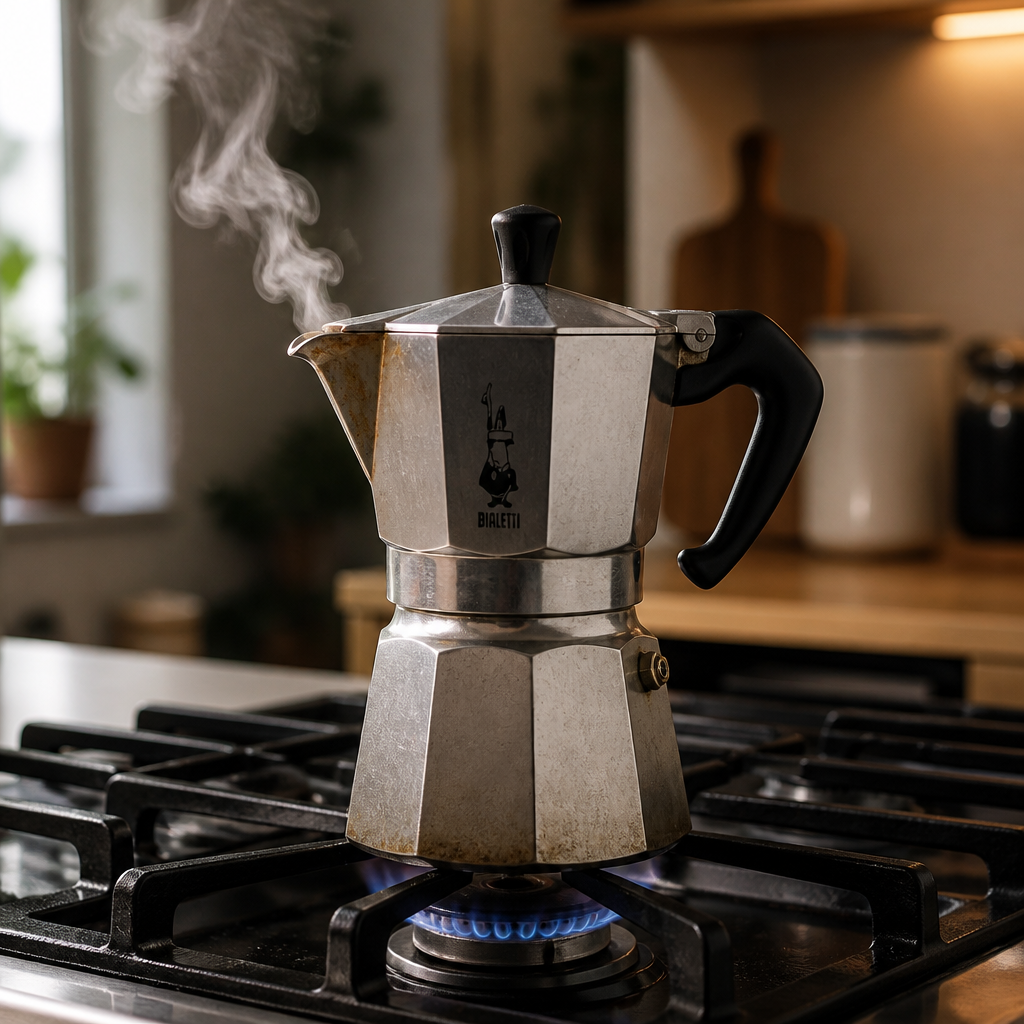
Screw the top and bottom chambers together firmly enough that no steam can escape from the join. Place it on the smallest burner available and set the heat to medium-low. Keep the lid open so you can watch and listen.
Step 5: Listen and Watch, Then Pull at the Gurgle
After a few minutes, coffee will begin rising into the top chamber in a steady, dark stream. When that stream transitions to a lighter, sputtering flow and you hear a gurgling sound, remove the pot from the heat immediately. That gurgle means you are at the end of extraction and steam is starting to dominate. Pour and serve right away.
Pro tip: If you want to stop extraction even more cleanly, wrap the base briefly in a cold, damp cloth after removing it from the heat. This drops the temperature in the bottom chamber quickly and halts any residual pressure.
Heat Control: The Variable Most People Get Wrong
Heat is where most stovetop espresso goes wrong, and it is usually in one direction: too high. The instinct is to get the coffee made quickly, so the hob goes to full power. What actually happens is the water superheats before it travels evenly through the grounds, the extraction is uneven, and whatever reaches the top chamber tastes burnt and flat.
Medium-low heat is the correct starting point and should remain consistent throughout the brew. The extraction should take between 4 and 6 minutes from the moment the pot hits the hob. If your coffee is done in under 3 minutes, the heat is too high. If it takes longer than 7 or 8 minutes, the heat is too low and the coffee will taste over-extracted and stale.
Induction Hobs and Electric Rings
Moka pots designed for gas work perfectly well on electric ceramic hobs. For induction, you need a pot with a magnetic base, as aluminium alone will not work on induction. Stainless steel moka pots are compatible with induction. If you have a traditional aluminium Bialetti and an induction hob, an induction disc placed between the two is a practical workaround, though a dedicated induction-compatible pot produces more consistent results.
Moka Pot vs. Alternatives: Which Brewing Method Suits You
Choosing between home brewing methods depends on what you value: intensity, convenience, cost, or control. The table below cuts through the noise for the three most comparable methods.
| Method | Strength and Character | Best For |
|---|---|---|
| Moka Pot (Stovetop Espresso) | Strong, rich, and full-bodied. Runs at 1 to 2 bars of pressure. Not true espresso but espresso-adjacent, with excellent body and intensity. No crema. | Home brewers who want concentrated coffee without the cost or complexity of an espresso machine. Ideal for milk-based drinks and straight sipping. |
| Espresso Machine (Home) | True espresso at 9 bars. Crema, intense sweetness, and the full range of espresso flavours. Results vary widely with machine quality and skill. | Dedicated enthusiasts willing to invest in equipment and spend time dialling in their technique. Higher cost, higher ceiling. |
| AeroPress | Versatile and forgiving. Can brew strong espresso-style concentrates or clean filter-style cups depending on recipe. No heat source required after boiling water. | Experimenters who want flexibility and portability. Excellent for travel or office use. Lower intensity than moka pot by default. |
The moka pot wins on the combination of intensity, simplicity, and cost. It requires no electricity, no pressurised pump, and no expensive paper filters. For anyone who wants espresso at home in the UK without spending several hundred pounds on a machine, it is the most practical entry point available, provided you are willing to learn the few variables that make the difference between a great cup and a bitter one.
If you are exploring other brewing methods alongside the moka pot, Farrer's brewing equipment range is worth browsing. Their product selection is specifically curated for the kind of home brewer who cares about the result in the cup, not just having a device on the counter.
Troubleshooting: Bitter, Weak, or Watery Results
If your moka pot coffee tastes off, the cause is almost always one of four things: grind size, heat, water quality, or timing. Here is how to diagnose each one.
Coffee Tastes Bitter or Burnt
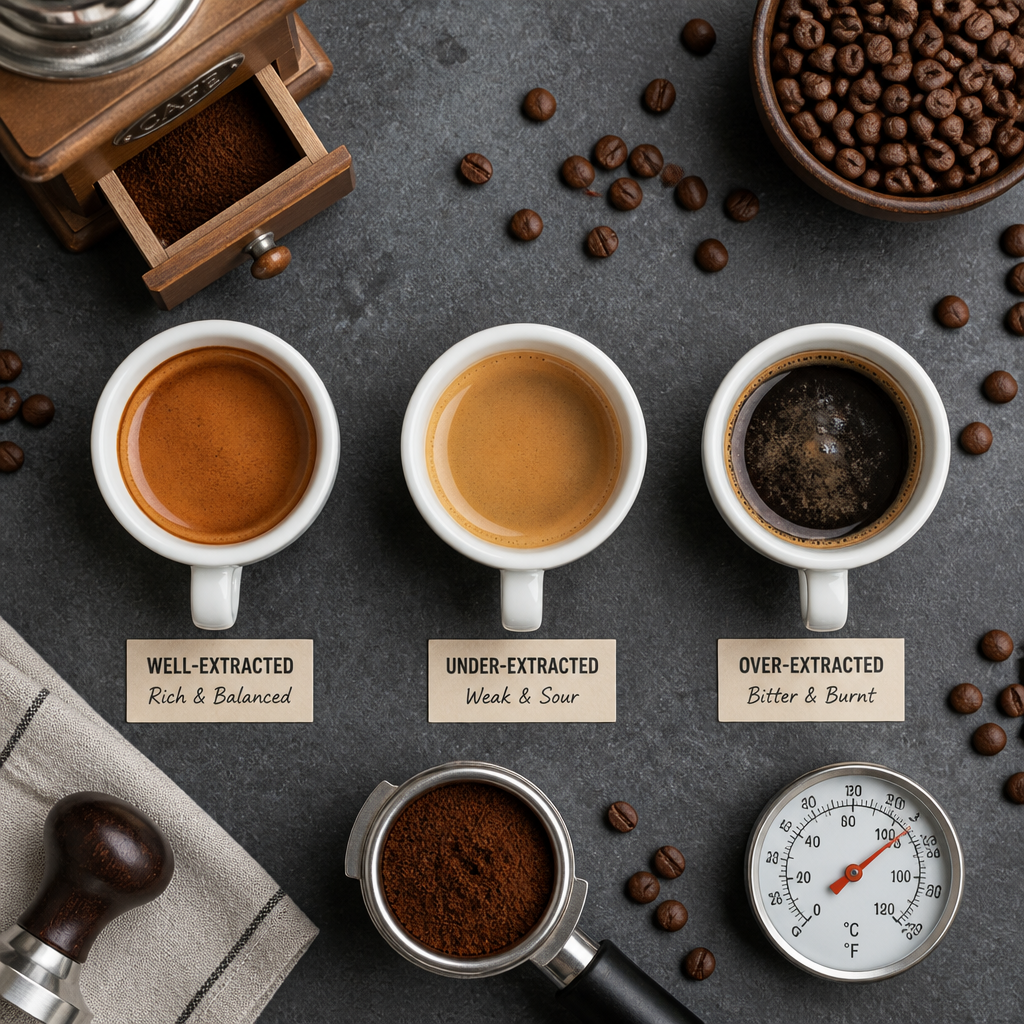
This is the most common complaint. Bitterness in a moka pot comes from over-extraction, which can be caused by a grind that is too fine, heat that is too high, starting with cold water, or leaving the pot on the hob after the gurgle. Address them in order. Coarsen your grind first. Then lower the heat. Then switch to pre-heated water. Then make sure you are pulling the pot the moment it gurgles. If all four are correct and the coffee still tastes bitter, the beans themselves may be stale.
Coffee Tastes Weak or Thin
A thin cup usually means under-extraction. Check whether the basket was fully filled: a partially filled basket changes the ratio and produces sour, watery coffee. Also check that the grind is not too coarse. If both are correct, try a slightly lower heat for a slower, more complete extraction.
Coffee Sputters and Sprays Rather Than Flowing Steadily
Sputtering during extraction points to either a grind that is too coarse (water moving through too quickly), or a lid left closed during brewing (no way to observe and respond to the flow). Keep the lid open, use medium-low heat, and the flow should be steady and dark from the beginning.
Water Quality and Its Impact
Hard tap water leaves limescale in the base chamber and imparts a mineral flatness to the cup. If your local water is hard, use filtered water. It makes a measurable difference to clarity of flavour, and it also protects the pot itself over time. Farrer's freshly roasted coffee is good enough that it deserves clean water as its base.
Cleaning and Maintenance
A moka pot does not need soap after every use, and in fact many experienced home brewers avoid soap entirely. The aluminium interior develops a thin layer of coffee oils over time that actually improves flavour continuity between brews. After each use, disassemble all three chambers, rinse every part with warm water, and leave them to dry completely before reassembling. Moisture trapped in the threads or against the gasket leads to unpleasant off-flavours in the next cup.
The gasket and filter plate are the parts most likely to need replacing. The rubber gasket hardens over time and eventually stops sealing properly, which causes steam to escape from the join during brewing. If you notice the thread area getting damp or steamy during a brew, the gasket needs replacing. Replacement gaskets are inexpensive and widely available.
Do not put your moka pot in a dishwasher. The heat and detergents strip the aluminium and damage the gasket. Do not use metal scourers on any part of it. Rinse, dry, and store with the top chamber resting loosely on the base (not fully screwed) to allow airflow and prevent the gasket from deforming under sustained compression.
Frequently Asked Questions
Is a moka pot the same as an espresso machine?
No. A moka pot uses steam pressure of around 1 to 2 bars to force water through coffee grounds, while a professional espresso machine operates at 9 bars. The result is a strong, concentrated coffee with espresso's intensity and body, but without the crema and the exact flavour profile that comes from high-pressure extraction. Think of moka pot coffee as its own category, espresso-adjacent rather than espresso proper.
What grind size should I use for a moka pot?
Medium-fine is the target. The consistency should feel like table salt when rubbed between your fingers, coarser than the powdery texture of espresso grind. An espresso-fine grind creates too much resistance for the moka pot's lower pressure, causing over-extraction and bitterness. If your coffee tastes bitter and your grind looks like flour, go a few clicks coarser on your grinder.
Should I tamp the coffee grounds in a moka pot?
No. This is one of the most widespread mistakes in moka pot brewing. Tamping compacts the grounds and creates resistance the moka pot's pressure cannot overcome cleanly. The result is uneven extraction and harsh flavour. Fill the basket loosely, level with a finger, and leave it at that.
Why does my moka pot coffee taste bitter every time?
The four most common causes of persistent bitterness are grind too fine, heat too high, starting with cold water, and leaving the pot on the heat after the gurgling sound begins. Work through each one systematically. Pre-heating your water and pulling the pot at the first gurgle are the two changes that produce the most immediate improvement for most people.
Can I use a moka pot on an induction hob?
Traditional aluminium moka pots are not compatible with induction hobs because aluminium is not magnetic. Stainless steel moka pots with a magnetic base are induction-compatible. If you have an aluminium pot you want to use on induction, an induction disc placed between the pot and the hob is a workable solution, though a purpose-made induction moka pot gives more consistent results.
How much coffee do I use in a moka pot?
Fill the basket fully and brew at the pot's rated capacity. A 3-cup moka pot holds roughly 15 grams of coffee and 150ml of water, which produces two standard espresso-sized servings. Never brew a 6-cup pot half full. The chambers are calibrated to work together, and under-filling produces a weak, sour cup regardless of how good the beans are.
What is the best type of coffee to use in a moka pot?
Medium to dark roasts produce the best results in a moka pot. They suit the extraction style and deliver the chocolatey, rich body the method is known for. Freshly roasted beans ground just before brewing make a meaningful difference to the final cup. If you are in the UK and want coffee specifically suited to moka pots and richer espresso-style brewing, Farrer's Espresso range at farrerscoffee.co.uk is roasted in small batches in the Lake District and dispatched fresh, which is exactly what this method rewards.
Have you found a specific trick that transformed your moka pot results? Share your experience in the comments below, we would genuinely like to know what worked for you.
References
- Complete guide to moka pot brewing: grind, ratio, heat, and technique from Beanbox
- How to use a moka pot: step-by-step brewing and ratio guide from Batch Coffee UK
- Moka pot grind size and coffee-to-water ratios explained by Batch Coffee
- The history of Alfonso Bialetti and the invention of the moka pot in 1933
- Ten common moka pot mistakes and how to fix them for a better cup every time


