

Most people who invest in good coffee beans still brew mediocre cups, and the reason is almost always the same: their setup is chaotic. A grinder on one side of the kitchen, beans buried in a cupboard, tampers in a drawer, no clear workflow. Building a proper home coffee station is not about spending more money or fitting out a dedicated room. It is about creating a small, deliberate space where every tool has a fixed place and the process runs without friction. Done right, it transforms a rushed morning ritual into something you genuinely look forward to.
Table of Contents
- Quick Takeaways
- Choosing the Right Spot for Your Coffee Station
- Essential Equipment for a Home Coffee Station
- Brewing Method Comparison
- Coffee Storage Done Right
- Building a Daily Routine Around Your Station
- Frequently Asked Questions
- References
Quick Takeaways
| Key Insight | Explanation |
|---|---|
| The grinder matters more than the machine | A mid-range espresso machine paired with a quality burr grinder will consistently outperform an expensive machine paired with a blade grinder or a cheap burr model. |
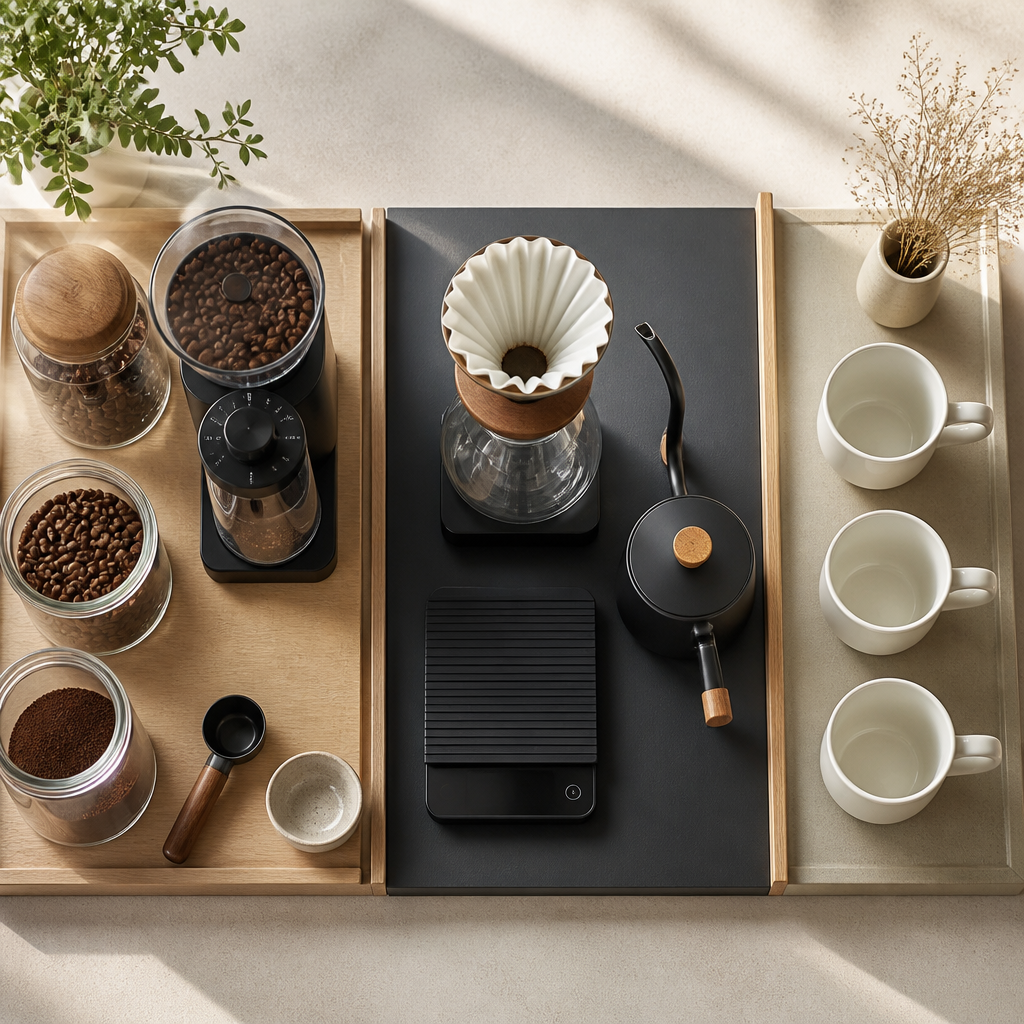
| Zone your station into three areas | Separate your setup into a prep zone, a brew zone, and a serve zone. Mixing them together creates clutter and slows you down every single morning. |
| Beans have four enemies: air, moisture, heat, and light | Store beans in an airtight, opaque container in a cool, dark cupboard. Avoid the fridge for everyday storage as it introduces moisture and can transfer odours. |
| Buy beans in smaller, more frequent batches | Coffee begins losing freshness almost immediately after roasting. Buying a fortnight's worth at a time, from a roaster with clear roast dates, produces noticeably better results than bulk buying. |
| A scale is not optional for espresso | Eyeballing dose and yield is the single biggest source of inconsistency for home espresso. A simple digital scale costs very little and fixes the problem immediately. |
| Routine maintenance prevents machine failure | Daily wiping, weekly backflushing for espresso machines, and monthly descaling can extend a machine's working life significantly. Skipping maintenance is the most common reason machines fail early. |
| Match your Farrer's beans to your brewing method | Farrer's freshly roasted blends are hand-packed and dispatched quickly, meaning roast date is recent. A filter-appropriate blend will behave differently under espresso pressure, so choose by intended brew method. |
Choosing the Right Spot for Your Coffee Station
The location of your station shapes everything else. The most common mistake is treating it as an afterthought and dropping equipment wherever counter space happens to exist. Instead, treat it like a small working kitchen within your kitchen, and choose the spot deliberately.
The first practical requirement is proximity to a power socket. An espresso machine, an electric kettle, and a grinder can all draw power simultaneously, so check that you have adequate sockets at the back of the counter before committing to a position. Reaching across the station to plug things in every morning is a habit-killer.
Counter space and vertical storage
If counter space is limited, vertical storage is your best tool. A small shelf mounted above the machine creates room for storage jars, a bag of beans, a tamper mat, and spare filters without consuming additional worktop area. Wall-mounted mug hooks and narrow floating shelves are used widely in compact UK kitchens for exactly this reason.
Keep the station away from the hob and from direct sunlight where possible. Heat and light accelerate bean degradation, and if your beans are stored anywhere near the station, placing it next to a warm oven is a direct shortcut to stale coffee.
Pro tip: Before buying any additional shelving or storage, spend one week using your current setup and note every time you have to reach, search, or move something out of the way. Those friction points are what your station redesign should solve first.
Essential Equipment for a Home Coffee Station
You do not need every gadget on the market. You need the right foundation pieces, chosen to match the way you actually want to brew. The list below prioritises function over novelty.
The burr grinder: the piece most people underinvest in
A quality burr grinder is the most important single piece of equipment in a home barista setup. It is consistently underweighted in buying decisions because machines are more visually impressive. But grind consistency determines extraction consistency, and extraction consistency is what separates a reliable, repeatable cup from a lottery. For espresso, this matters enormously. For manual methods like pour-over or cafetière, it still matters, but there is slightly more tolerance.
Blade grinders produce uneven particle sizes that lead to mixed extraction: some grounds over-extracted and bitter, others under-extracted and sour, in the same cup. A flat or conical burr grinder eliminates this by cutting beans to a consistent size. Entry-level burr grinders suitable for filter brewing start at a modest price point in the UK. For espresso-capable grinding with precise stepless adjustment, the investment is higher but clearly justified in cup quality.
Brewing equipment: match it to your preference
For those building a station from scratch, the choice of brewing method should come before the choice of machine. The main options for a UK home setup are:
- Espresso machine: Produces concentrated espresso and milk-based drinks. Requires the steepest learning curve and the most counter space, but offers the widest range of output.
- Pour-over dripper (such as a V60 or Chemex): Produces a clean, complex cup. Very low cost of entry, minimal footprint, and excellent for showcasing a high-quality single-origin or fresh-roasted blend.
- Cafetière (French press): Forgiving, affordable, and well-suited to medium and dark roasts with fuller body. Good starting point for those new to home brewing who want results without much dialling in.
- AeroPress: Compact, versatile, and nearly indestructible. Produces a concentrated brew that can approximate espresso-style coffee without a machine. Particularly popular with home brewers who travel frequently.
Supporting tools you will actually use
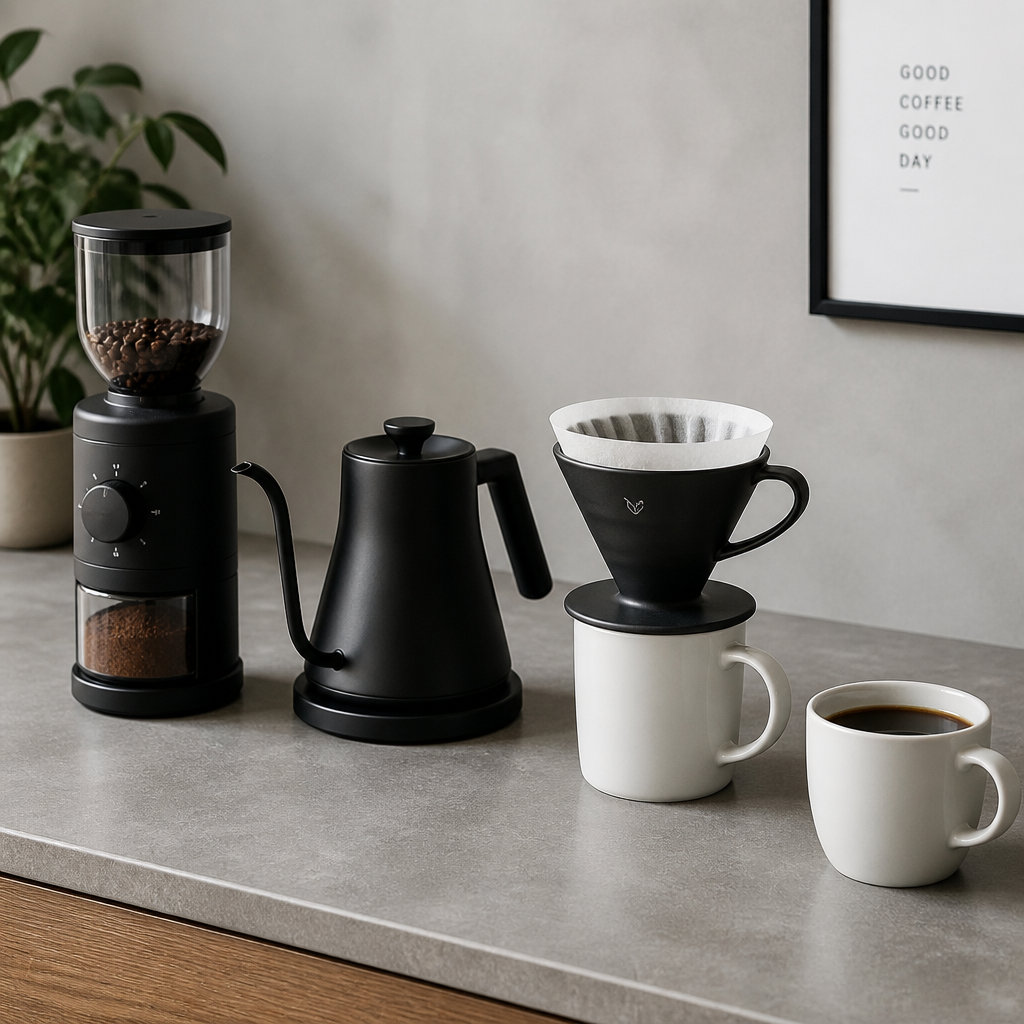
Beyond the grinder and brewer, a small set of supporting tools makes the difference between a functional station and a frustrating one. A gooseneck kettle with temperature control is non-negotiable for pour-over, where water temperature directly affects extraction. A digital scale removes guesswork on dose and yield. A knock box keeps the workflow tidy if you are pulling espresso shots. None of these are luxuries once you have used them regularly.
Farrer's coffee equipment range covers the key supporting tools without requiring you to hunt across multiple retailers. Given that Farrer's also dispatches freshly roasted beans, keeping your equipment and bean supply from the same trusted source simplifies the whole setup considerably.
Pro tip: If your budget is limited, spend it on the grinder first and use a basic cafetière or AeroPress as the brewer. A quality grind through a simple brewer will always outperform a cheap grind through an expensive machine.
Brewing Method Comparison
Choosing between brewing methods is one of the first real decisions in building a home coffee setup. The table below compares three of the most common approaches on the factors that actually matter to daily home use.
| Brewing Method | Skill Level Required | Best For |
|---|---|---|
| Espresso Machine | Intermediate to advanced. Requires consistent tamping, grind adjustment, and an understanding of extraction time and yield. | Milk-based drinks (flat white, latte, cappuccino), concentrated espresso, those who want full barista capability at home. |
| Pour-Over (V60 / Chemex) | Beginner to intermediate. The main variables are grind size, water temperature, and pour rate, all of which are easy to learn. | Highlighting the complexity of a well-roasted filter blend. Farrer's lighter-roasted filter coffees shine in this method. Clean cup, bright flavours. |
| Cafetière (French Press) | Beginner. Very forgiving on grind size variation, steep time, and dose. Hardest to completely ruin. | Fuller-bodied cups, darker roasts, those who want something straightforward and reliable with minimal daily effort. |
Coffee Storage Done Right
Storage is where the most avoidable quality losses happen. You can source the best freshly roasted beans from a heritage roaster like Farrer's, grind them correctly, and still produce a flat, lifeless cup if the beans have been stored badly in the days before brewing.
Roasted coffee beans are porous and hygroscopic, meaning they absorb moisture, odours, and oxygen from the surrounding environment. The four enemies of coffee freshness are oxygen, moisture, heat, and light. Any storage solution that does not address all four is a compromise.
Airtight, opaque containers: the baseline requirement
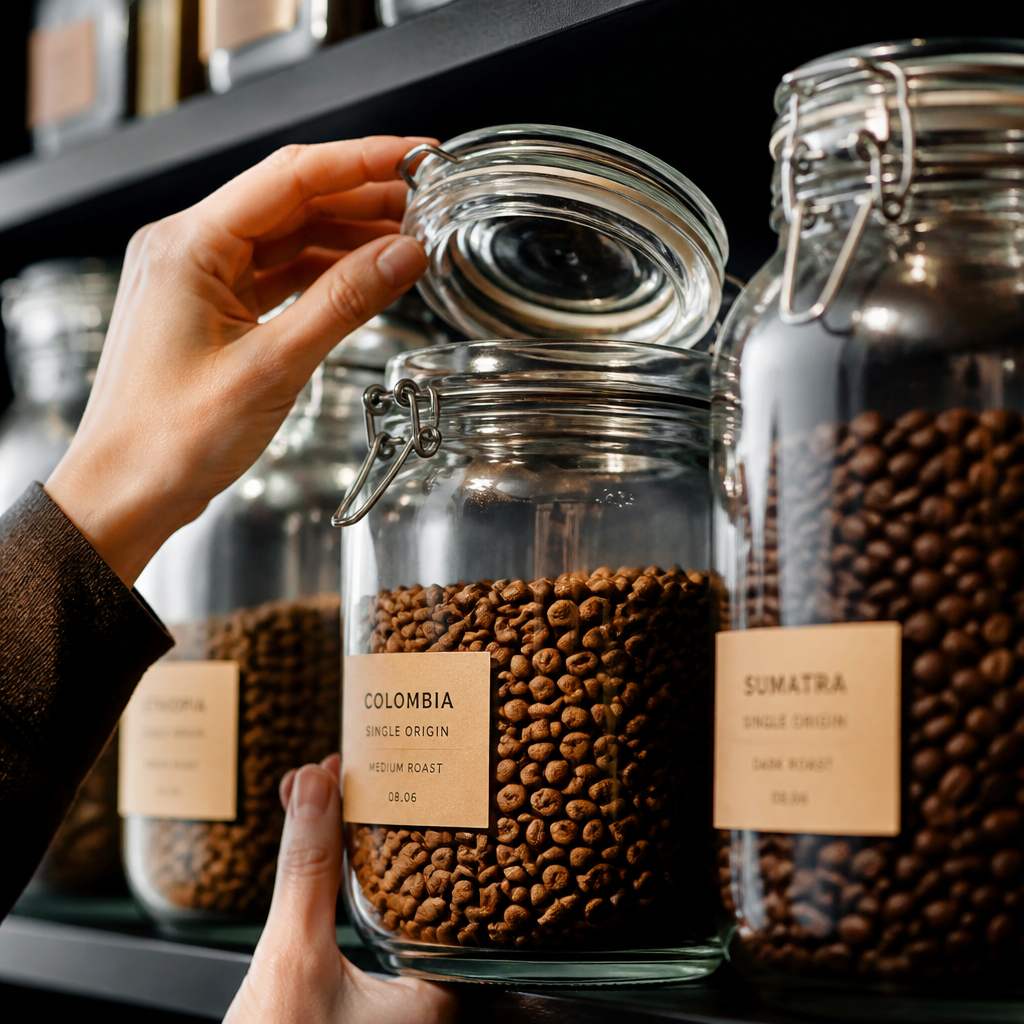
The best everyday storage solution is an airtight, opaque container kept in a cool, dark cupboard. Clear glass canisters look attractive on a coffee station countertop but allow light exposure that degrades flavour over time. If display storage is important to you, use opaque ceramic canisters or keep clear containers inside a closed cupboard.
Avoid storing beans in the fridge for day-to-day use. The fridge environment introduces moisture every time the container is opened and closed, and beans readily absorb fridge odours. The one exception is long-term freezing of a sealed, vacuum-packed portion of beans that you do not intend to open for several weeks. Once thawed, do not refreeze.
Roast date is the figure that matters
Best-before dates on coffee packaging are a rough commercial guide. The figure that actually tells you about freshness is the roast date. Coffee begins losing its complexity almost immediately after roasting. Buying beans in smaller batches, enough for one to two weeks of brewing, from a roaster who prints the roast date clearly, produces consistently better results than buying a large bag from a supermarket shelf with no roast information.
Farrer's hand-packs and dispatches its coffee with next-day dispatch on qualifying orders, which means the gap between roasting and your grinder is as short as practically possible. That freshness advantage is squandered quickly if the beans are then stored in the wrong conditions.
The four enemies of coffee freshness are oxygen, moisture, heat, and light. Defeating all four requires only an airtight opaque container and a cool dark cupboard, not specialist equipment.
Ideal storage temperature and quantities
A cool, dark cupboard away from the oven is sufficient for most home use. If you want to be precise, a temperature range of roughly 15 to 24 degrees Celsius covers optimal ambient storage conditions for roasted beans. Buying in quantities you will use within two weeks avoids the problem altogether. For those who prefer dark roasts in larger quantities, the denser structure of dark-roasted beans does slow oxidation slightly compared to lighter roasts, making modest bulk storage more viable.
Building a Daily Routine Around Your Station
A well-designed coffee station only delivers its value if the routine around it is equally well-structured. Equipment that is awkward to reach, clean, or maintain gradually gets used less. The goal is to make the good habit the path of least resistance.
The three-zone workflow
The most efficient home coffee station layout organises the space into three distinct zones: the prep zone where grinding and dosing happen, the brew zone where extraction occurs, and the serve zone where cups wait and milk is prepared. Moving through these three zones in sequence from left to right (or right to left, depending on your dominant hand and kitchen layout) creates a workflow that becomes automatic within days.
Organise your station so tools move in the direction of your workflow. The grinder feeds into the portafilter or dripper, which sits above or in front of the machine, which faces toward where the cup sits. Reversing this so you reach back across the station multiple times per brew is a minor friction that compounds into genuine annoyance over hundreds of mornings.
Daily, weekly, and monthly maintenance
Maintenance is the part of the home coffee routine that most people neglect until something goes wrong. The approach that extends machine life and protects cup quality is simple when broken into three timeframes. Daily: wipe down the steam wand and portafilter after each use, and empty the drip tray. Weekly: backflush the group head if you have an espresso machine with a solenoid valve, and wipe down the grinder's exterior. Monthly: descale the machine according to the manufacturer's guidance, and brush out the grinder burrs if grounds are visibly accumulating.
Skipping monthly descaling is the most common reason domestic espresso machines fail before their time. Scale builds up inside the boiler and heating elements, reduces temperature stability, and eventually blocks water flow entirely. A bottle of descaler used monthly is a negligible cost against the price of a machine repair or replacement.
Dialling in your grind: the habit that separates good from great
Every time you open a new bag of beans, whether it is a different roast level, a different origin, or simply a new batch of the same blend, the grind setting will need a small adjustment. Beans vary in density and moisture content depending on roast profile. A grind setting that produced a perfect 27-second espresso pull last week may produce a 20-second pull or a 35-second pull with new beans.
Building the habit of pulling one test shot, checking the yield and taste, and adjusting accordingly before committing to your actual morning cup takes less than two minutes and produces noticeably better results. The adjustment required is usually minor: half a step on most grinders is enough. Keep the same dose weight and the same target yield in grams, and adjust only grind size until the result is right.
Farrer's barista training sessions cover this dialling-in process hands-on for those who want to develop confidence faster than solo experimentation allows.
Frequently Asked Questions
What is the minimum equipment needed for a good home coffee station?
The true minimum is a quality burr grinder, a kettle, your chosen brewing device (cafetière, pour-over, or AeroPress are all excellent low-cost starting points), an airtight storage canister, and fresh beans from a roaster with a visible roast date. A digital scale is strongly recommended if you plan to brew espresso. Everything else builds on this foundation.
Is a cafetière good enough for a home coffee station, or do I need an espresso machine?
A cafetière is entirely capable of producing excellent coffee at home. It is forgiving to use, requires minimal equipment, and pairs particularly well with full-bodied medium-to-dark roasts. An espresso machine adds capability for milk-based drinks and concentrated espresso, but it also adds cost, counter space, maintenance requirements, and a steeper learning curve. Many experienced home brewers prefer pour-over or cafetière specifically because the simplicity lets the quality of the beans come through without interference.
How much counter space does a home coffee station realistically need?
A functional espresso-based station needs roughly 60 to 80 centimetres of counter width to fit the machine, grinder, and a small prep area side by side. A pour-over or cafetière setup can work in as little as 30 to 40 centimetres. Vertical storage through shelving significantly reduces the counter footprint of a station regardless of which method you choose.
Should I store coffee beans in the fridge?
For everyday use, no. The fridge introduces moisture each time the container is opened and can transfer flavours and odours to the beans. Store beans in an airtight, opaque container in a cool, dark cupboard instead. The one exception is long-term storage of a sealed, vacuum-packed portion you do not plan to open for several weeks, which can be frozen. Once opened and thawed, use the beans within a week or two and do not refreeze.
How often should I descale my espresso machine?
Monthly descaling is the standard recommendation for domestic machines used daily, though the correct frequency depends on your local water hardness and how frequently you brew. Hard water areas across much of the UK accumulate scale faster, so monthly is a sensible default. Many machines now have indicator lights that signal when descaling is needed. Following the machine manufacturer's guidance is always the correct baseline, but monthly maintenance for daily-use machines is rarely too frequent.
What coffee equipment does Farrer's offer for home setups?
Farrer's stocks brewing equipment and accessories suited to home coffee stations, available through their equipment collection. As a specialist roaster with over 200 years of heritage, their product selection reflects practical brewing knowledge rather than the spray-and-pray approach of general kitchen retailers. Pairing Farrer's freshly roasted beans with correctly matched equipment is the most straightforward route to a high-quality home setup.
How do I know which Farrer's blend to use for my brewing method?
Farrer's offers a range of blends and single-origin coffees suited to different brewing methods. As a general rule, espresso blends are developed for high-pressure extraction and tend to have a structure that holds up well to heat and pressure, producing sweetness and body. Filter blends are optimised for longer, lower-pressure extraction methods like pour-over or cafetière, producing more clarity and brightness in the cup. When in doubt, the Farrer's team can advise on matching specific blends to your setup.
What does your home coffee station currently look like, and what is the one change you are considering? Share your experience in the comments.
References
- Mahlkoenig guide to designing a home coffee station with layout, zones, and equipment choices
- About Coffee overview of coffee bean storage practices and shelf life
- Pro Coffee Gear guide to home coffee bar essentials and setup ideas
- Papel Espresso guide to organising a home coffee station by workflow zones
- Stone Creek Coffee guide to storing coffee beans, including canisters, freezing, and common myths


