

Most people drink coffee. Very few actually taste it. If you have ever sipped a cup and thought "this is nice" without being able to say exactly why, you are missing half the experience. A proper coffee cupping guide changes that.
Cupping is the standardised tasting method used by specialty roasters, buyers, and baristas worldwide to evaluate coffee objectively. It strips away brewing variables and puts your palate front and centre.
At Farrer's, where we have been roasting since 1819, cupping is how we quality-check every single batch before it reaches you.
Table of Contents
- What Is Coffee Cupping and Why It Matters
- Quick Takeaways
- What You Need Before You Start
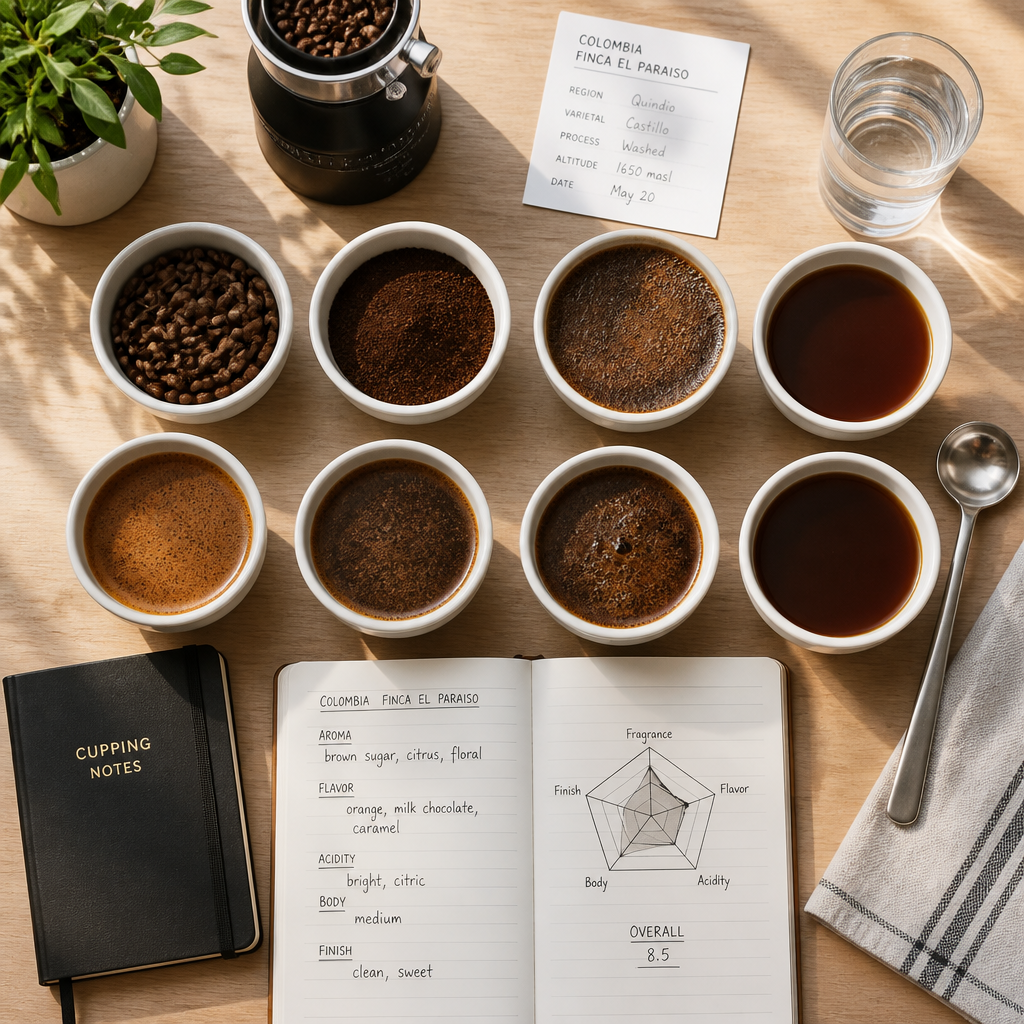
- Step-by-Step Cupping Process
- Reading Coffee Tasting Notes Without the Guesswork
- Common Mistakes That Throw Off Your Palate
- Cupping vs. Everyday Brewing: A Practical Comparison
- Applying Cupping Skills to Your Daily Cup
- Frequently Asked Questions
- References
What Is Coffee Cupping and Why It Matters
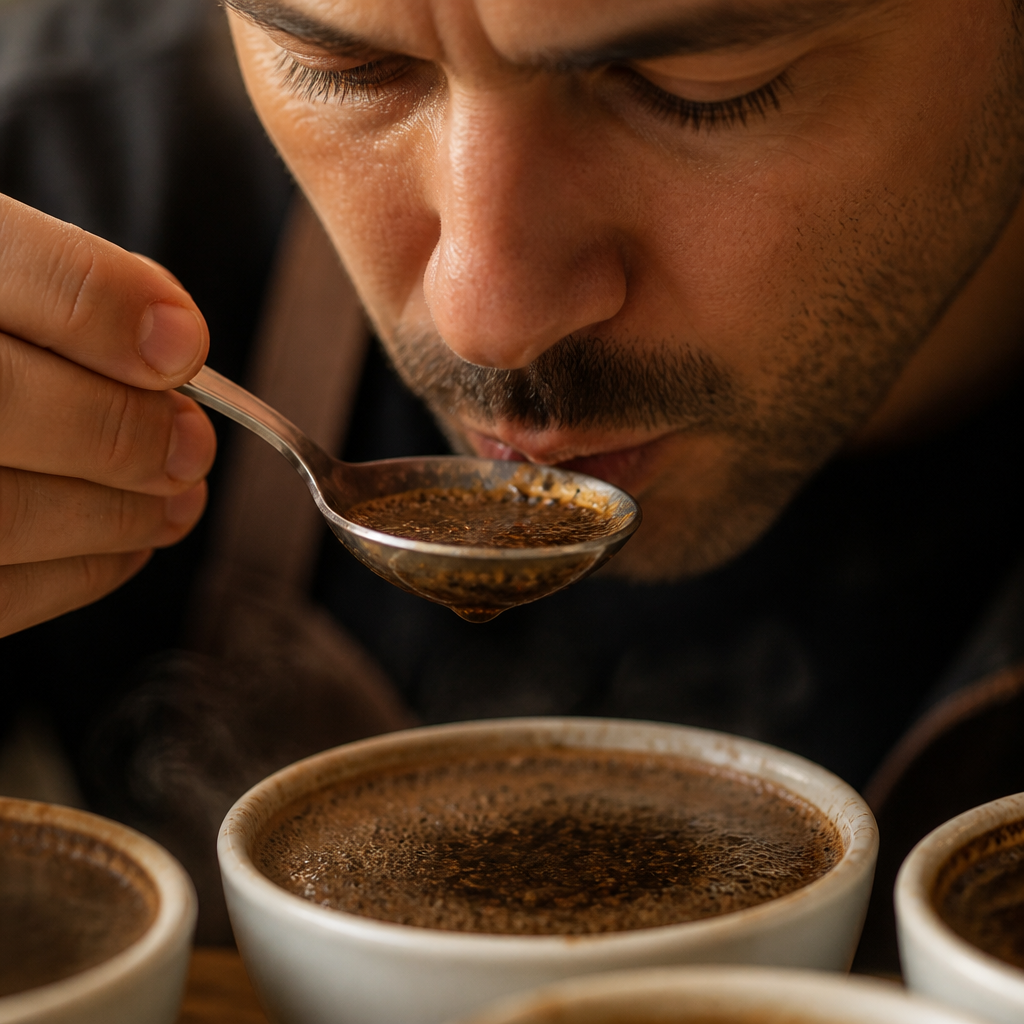
Cupping is a structured sensory evaluation protocol. You grind coffee, pour hot water directly over the grounds, let it steep, break the crust, skim the foam, and taste by slurping from a spoon. That slurp is not bad manners. It aerates the liquid across your entire palate, helping you detect coffee tasting notes that a polite sip would miss entirely.
The Specialty Coffee Association (SCA) has formalised this process with a scoring sheet that evaluates fragrance, aroma, flavour, aftertaste, acidity, body, balance, uniformity, clean cup, and sweetness.
A coffee scoring 80 or above qualifies as specialty grade. Understanding this framework is useful even if you never plan to judge competitions, because it gives you a vocabulary for what your tongue is already detecting.
For home enthusiasts sourcing from roasters like Farrer's, cupping is the fastest way to understand the difference between, say, a washed Ethiopian and a natural Brazilian. Those are not just marketing words. They describe processing methods that produce genuinely different flavour profiles, and cupping makes those differences unmissable.
Quick Takeaways
| Key Insight | Explanation |
|---|---|
| Use a consistent coffee-to-water ratio | The SCA standard is 8.25g of coffee per 150ml of water. Deviating makes cross-coffee comparison meaningless. |
| Grind coarse and grind fresh | A coarse, uniform grind prevents over-extraction during the 4-minute steep. Pre-ground coffee goes stale within 15 minutes of grinding. |
| Water temperature matters precisely | Pour at 93°C (just off the boil). Too hot scorches the grounds; too cool suppresses volatile aromatics you need to evaluate. |
| Smell before you taste | Up to 80% of flavour perception is olfactory. Evaluating the dry fragrance and wet aroma gives you critical data before a drop touches your lips. |
| Slurp aggressively | Spraying coffee across your palate with a spoon slurp delivers it to all taste receptor zones simultaneously, revealing body and finish that polite sipping hides. |
| Taste across temperature ranges | Many specialty coffees reveal fruit and floral notes only as they cool. Tasting at 70°C, 50°C, and 35°C gives three distinct flavour windows. |
| Cup at least two coffees side by side | Palates need contrast to identify nuance. Cupping a single coffee in isolation is like assessing colour in a dark room. |
What You Need Before You Start
The good news is that cupping requires almost no specialist equipment. You need a consistent grinder (burr, not blade), a kitchen scale accurate to 0.1g, a kettle with temperature control, cupping bowls or wide-mouthed mugs of 200-250ml capacity, cupping spoons (or sturdy dessert spoons), a timer, and two or more different coffees. That is it.
The equipment you do not need is an expensive espresso machine or a pour-over setup. Cupping deliberately removes brewing skill from the equation. If you want to explore this properly, Farrer's roastery experience days are built around exactly this kind of hands-on sensory education, guided by people who have been doing this for generations.
Choosing the Right Coffees to Cup
Start with coffees that are genuinely different in origin and process. A good beginner pairing is a washed Central American (clean, bright, consistent) against a natural African (fruit-forward, complex, sometimes wine-like). Farrer's single-origin range gives you well-documented tasting notes per coffee, which you can use as a benchmark to check your own palate after the session rather than before. Do not read the notes before you taste. Let your palate work first.
Freshness is non-negotiable. Coffee degasses for the first 5-7 days post-roast, then enters a flavour peak between days 7 and 30. Cupping coffee that is more than 6 weeks off roast teaches you bad habits because stale coffee tastes flat regardless of origin quality.
Step-by-Step Cupping Process
Follow these steps in order. Changing the sequence changes what you detect, and consistency is the entire point of a standardised protocol.
Step 1: Weigh and Grind
Weigh 12g of coffee per 200ml bowl. Grind coarse, roughly the texture of coarse sea salt. Grind each coffee directly into its bowl and cover immediately with a lid or saucer. You have about 15 minutes before volatile aromatics escape.
Step 2: Evaluate the Dry Fragrance
Remove the cover and lower your nose close to the grounds. Breathe in slowly. Note the first words that come to mind, even if they feel obvious. "Chocolate", "grass", "berry", "toast" are all legitimate descriptors. Write them down without editing yourself.
Step 3: Pour and Time
Pour 93°C water directly onto the grounds in a slow, even circular motion, making sure all grounds are saturated. Start your timer. The crust of grounds that forms on the surface is trapping aromatics. Do not disturb it for 4 minutes.
Step 4: Break the Crust
At exactly 4 minutes, use your cupping spoon to break the crust with three gentle stirs. Lower your nose directly over the bowl as you do this. The burst of aroma released at this moment is one of the most information-rich sensory events in the entire cupping process. Write down what you smell immediately.
Step 5: Skim and Taste
Use two spoons to skim the foam and remaining grounds from the surface. Now taste. Load the spoon with about 5ml of liquid and slurp it hard from the spoon's edge. Taste at three temperature points: hot (around 70°C), warm (around 50°C), and cool (around 35°C). Note how the profile shifts at each stage.
"The cupping protocol exists not to make tasting complicated, but to remove all the variables that make comparison impossible. Once you strip away brewing method, equipment, and skill, all that remains is the coffee itself." - World Coffee Research, Sensory Lexicon documentation
Reading Coffee Tasting Notes Without the Guesswork
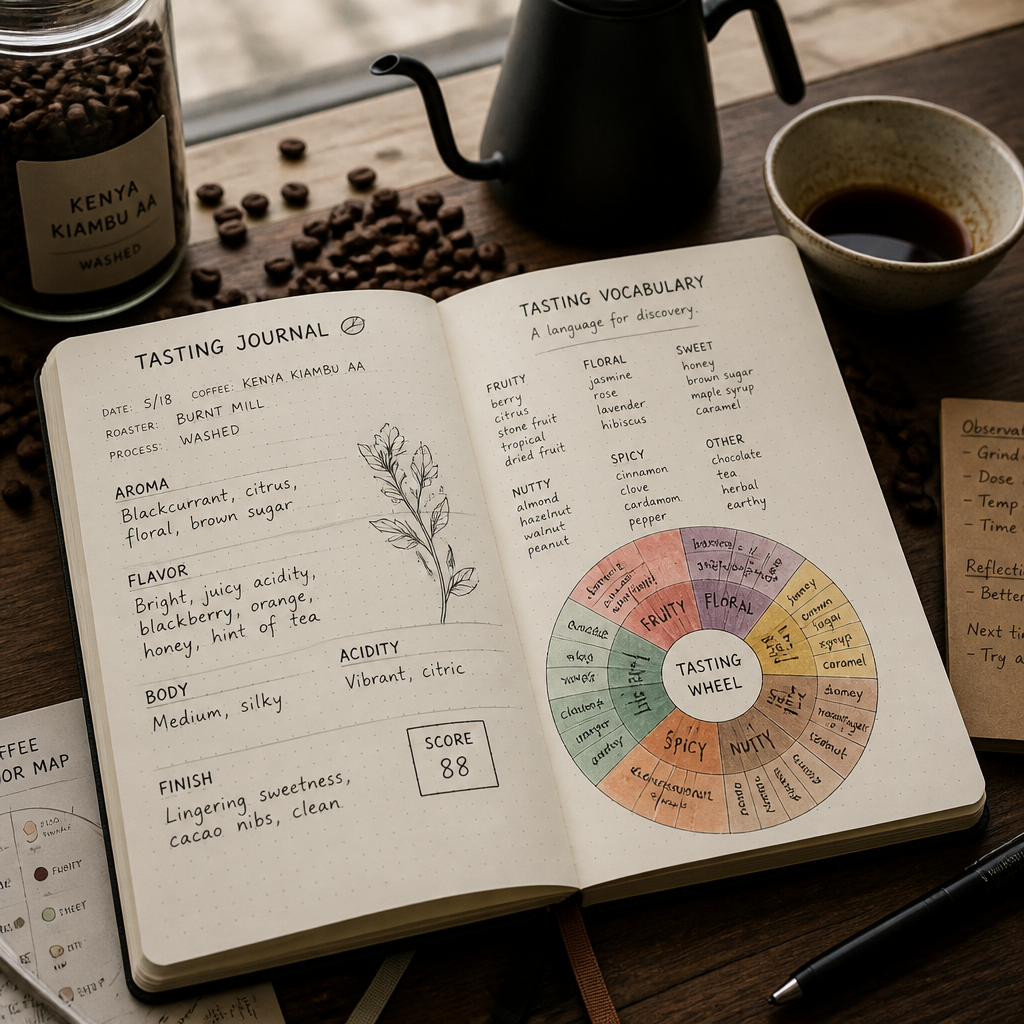
Coffee tasting notes confuse beginners because they sound like fiction. "Sun-dried apricot", "jasmine", "dark toffee" are real descriptors, but only if you know how to look for them. The SCA Flavour Wheel, co-developed with World Coffee Research, organises over 100 flavour attributes into a structured reference system. It moves from broad categories (fruity, floral, nutty, spicy) inward to specific descriptors (dried cherry, bergamot, hazelnut, clove).
In practice, you will not taste all 100 descriptors in a single coffee. Most specialty coffees have 3-5 dominant notes. Your job as a beginner is to identify the broad category first, then narrow down. Ask yourself: is it sweet or bitter? Fruity or earthy? Bright or heavy? Those three questions get you to the right section of the flavour wheel every time.
How UK Specialty Coffee Roasters Document Tasting Notes
UK specialty coffee roasters, including Farrer's, work with professional Q Graders (licensed coffee tasters certified by the Coffee Quality Institute) to assign tasting notes to each lot. These notes are not invented for marketing.
They reflect what trained palates consistently detect in blind cupping. When Farrer's describes a coffee as having "dark chocolate and dried fruit" notes, that has been verified through structured evaluation.
A common mistake is expecting tasting notes to hit you immediately and obviously, like biting into actual fruit. It is more subtle. The note reveals itself as an impression, a quality of flavour that reminds your memory of something rather than replicating it directly. Calibrating that expectation prevents frustration early on.
Pro tip: Before your cupping session, smell real ingredients that match the listed tasting notes. If the coffee is described as having "dried apricot and brown sugar," smell actual dried apricots and a spoonful of brown sugar first. This primes your olfactory memory and makes detection significantly easier.
Common Mistakes That Throw Off Your Palate
Palate fatigue is real. Tasting more than 6 coffees in a single session without breaks leads to sensory overload, and your scores become unreliable after the fourth or fifth bowl. Professional cuppers pace themselves and use water and plain crackers between samples to reset.
A common mistake is using water that is too hard. Minerals in water interact with coffee compounds in ways that suppress or amplify certain notes. The SCA recommends water with a total dissolved solids (TDS) level of 75-250 ppm and a pH between 6.5 and 7.5. Tap water in many UK regions, particularly the South, runs much harder than this. Filtering your water or using a balanced bottled water makes a measurable difference to what you detect.
The Problem with Tasting Alone
Cupping alone is less effective than cupping with even one other person. Verbalising what you taste in real time forces your brain to commit to a descriptor, and hearing someone else's descriptor often unlocks notes you were sensing but had not named. This is not groupthink. It is how professional cupping panels are designed to work, because consensus across trained palates produces more reliable scores than any single taster.
If you cannot cup with someone in person, Farrer's barista training sessions include guided cupping components that put you in a group tasting context with professional facilitation. That structured environment accelerates palate development faster than months of solo tasting.
Cupping vs. Everyday Brewing: A Practical Comparison
Understanding how cupping differs from your daily brewing method helps you apply what you learn in a cupping session to your actual morning routine. The table below compares cupping against two popular home brewing methods.
| Factor | Cupping (SCA Protocol) | Pour-Over (V60 / Chemex) | Cafetiere / French Press |
|---|---|---|---|
| Purpose | Sensory evaluation and comparison | Daily brewing for drinking | Daily brewing for drinking |
| Grind size | Coarse and consistent | Medium-fine, method-dependent | Coarse, similar to cupping |
| Brew time | Exactly 4 minutes, no variation | 3-4 minutes, skill-dependent | 4 minutes with plunge |
| Filtration | None: grounds remain in cup | Paper filter removes oils and fines | Metal mesh retains oils and body |
| What it reveals | True flavour, body, and defects of the coffee itself | Clarity and brightness of a coffee | Body, texture, and richness |
| Skill required | Low brewing skill, high tasting skill | Moderate brewing skill | Low brewing skill |
| Best used for | Comparing origins, roast levels, processing methods | Enjoying a clean, nuanced cup daily | A rich, full-bodied everyday brew |
The key takeaway from this comparison is that cupping is not a replacement for your preferred brewing method. It is a diagnostic tool. You cup to learn what a coffee is, then choose the brew method that best expresses what you liked about it.
Applying Cupping Skills to Your Daily Cup
Once you have run three or four cupping sessions, the skills transfer directly to how you assess your morning brew. You will start noticing acidity as brightness rather than just "sharpness". You will distinguish body (mouthfeel, weight) from strength (concentration). You will recognise the difference between sweetness and bitterness at the finish.
This is where sourcing from a roaster that documents its coffees rigorously pays off. Farrer's tasting notes and roast profiles give you a reference point to check your palate against. If you buy a Farrer's Guatemalan described as "caramel, hazelnut, soft acidity" and your cupping detects exactly those qualities, your palate is calibrated correctly. If you are consistently detecting something different, that is useful information too: your water, grinder, or storage might be introducing unwanted variables.
Using Cupping to Choose Your Next Coffee Order
If you regularly order from Farrer's and want to expand your palate, use cupping to map your preferences systematically. Start by cupping coffees within a single origin region, then compare regions. Cup light, medium, and dark roasts of the same blend. Cup different processing methods from the same country. Within a few months, you will know precisely what you like and, more importantly, why you like it.
Pro tip: Keep a simple cupping journal. Date, coffee name, roast date, your descriptors at three temperatures, and a 1-10 overall score. After ten sessions, patterns in your preferences become obvious. This is the same practice used by Q Graders and professional buyers in the specialty coffee UK market, and it costs nothing beyond a notebook.
Frequently Asked Questions
Do I need special cupping spoons to get started?
No. Professional cupping spoons have a deep, round bowl designed to hold about 5ml of liquid cleanly, but a standard dessert spoon works perfectly well for home practice. The slurp technique matters far more than the spoon material. Invest in a quality burr grinder before you spend money on specialist cupping equipment.
How many coffees should I cup in a single session?
Two to four coffees is the right range for beginners. Palate fatigue sets in quickly when you are actively concentrating on sensory evaluation. Professional cuppers can handle more because their palates are trained and their tasting pace is efficient, but starting with two coffees gives you clear contrast without overwhelming your senses.
What does "clean cup" mean on a cupping scoresheet?
A clean cup has no off-flavours, defects, or taints that interfere with the coffee's natural flavour expression. Defects include ferment (sour, vinegary notes from poorly processed coffee), phenolic (medicinal or smoky taints), and mustiness (from improper storage). A clean cup does not mean bland. It means nothing is in the way of what the coffee should taste like.
Can I cup espresso blends the same way as single-origins?
Yes, and it is genuinely useful. Cupping an espresso blend like those in the Farrer's range reveals the individual component characteristics that are designed to work together under pressure. You may find a blend tastes lighter and more acidic in a cupping bowl than it does as an espresso shot, because espresso extraction concentrates and amplifies certain compounds. That contrast is informative, not a flaw in the method.
How long does it take to develop a reliable cupping palate?
Most people develop a functional cupping vocabulary within 8-12 structured sessions, assuming they are tasting a variety of well-documented coffees and comparing their notes against verified descriptions. Professional Q Grader certification requires passing blind tests across 22 different skill areas, which takes most candidates several months of dedicated practice. You do not need that level of precision to cup effectively at home. Consistent practice matters more than speed of progress.
Is there a difference between cupping and blind tasting?
Cupping is a specific protocol (the SCA method) that can be done with or without knowing what coffee is in the bowl. Blind tasting means you evaluate without seeing the label. Cupping blind is considered the gold standard for palate development because it eliminates expectation bias. When you know a coffee is Jamaican Blue Mountain, your brain is primed to find premium qualities regardless of what is actually in the cup.
We would love to hear how your first cupping session goes. Share what you detected in your coffees and whether the notes surprised you.
References
- Specialty Coffee Association: standards and protocols for coffee cupping and sensory evaluation
- World Coffee Research: scientific research on coffee flavour, the Sensory Lexicon, and the SCA Flavour Wheel methodology
- Coffee Quality Institute: Q Grader certification, professional coffee tasting standards, and green coffee grading
- Statista: UK coffee market data including specialty coffee consumption trends and consumer preferences
- Forbes: food and beverage industry coverage including the growth of specialty coffee culture in the UK and globally


